
Hi there! It's Tobi here with a little tutorial about using chalk pencils to shade your coloured images. It was this past summer when I was hanging out with some TSG girls at Jessica's house when I asked Kim Teasdale how she gets "that special sump'n sump'n" on her cards and it was at that moment that she changed my life. I'm not exaggerating, I will, from now on, always use either chalk pencils or charcoal pencils to add shading to my colouring..
Pastel Chalk pencils (or soft charcoal pencils) will work on top of any medium so long as it's completely dry. Kim colours with Tombow watercolour markers and I use Distress Markers or Copics, and the pencils are a LAST STEP once you've coloured your image.
Here's a before-and-after of a cute Hallowe'en image. The "before" is JUST coloured with Copics and the "after" was after I finished adding shading with the chalk pencils.
Before:
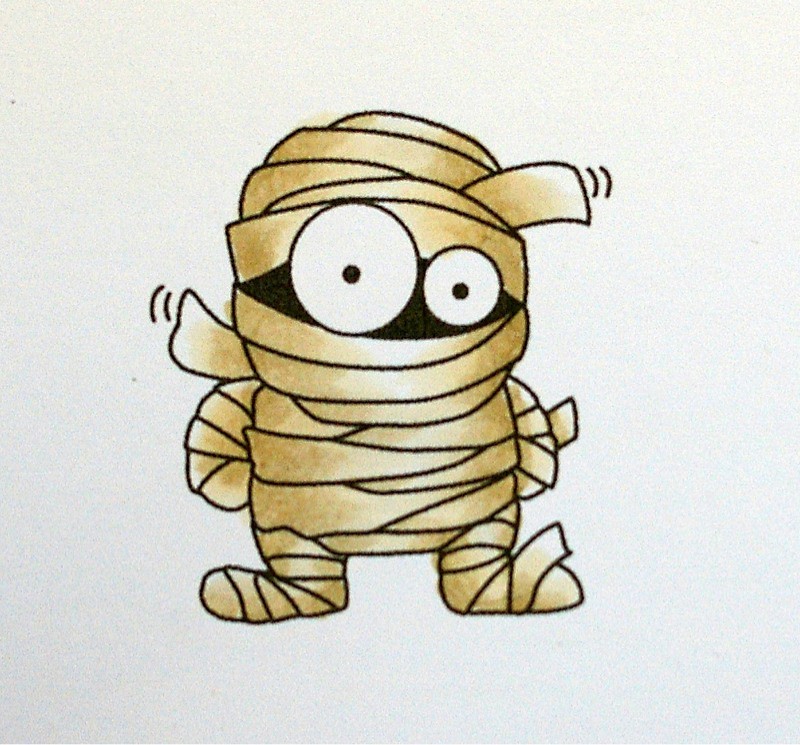
After:

And here's a little video I put together just for you!! I have wanted to do this video for a while and this Wednesday Trends feature was the perfect push to get it done!
Enjoy!
And here's the final product, all coloured and shaded:


Thanks for joining me today!!


AWESOME tutorial Tobi!! THANK YOU! And thanks for talking about the different brands of pencils too!
ReplyDelete~ Meredith
Wow! It's amazing how just that bit of shading makes such a difference. Thanks so much for sharing this tip.
ReplyDeleteWow, thanks Tobi and Kim for sharing this little "secret"! What a big difference the shading makes.
ReplyDeleteLOVE the extra dimension the chalk pencils brings to your image. I have 4 sets of them and used to use them often until I got my Copics...then I put away the pencils. Didn't think to combine the two. Thanks for that inspiration!
ReplyDeleteACK! I MUST try this!!!! Great tutorial, Tobes!
ReplyDeleteWow! FABULOUS tutorial. Thanks for teaching me something new - I will definitely be trying this! :)
ReplyDeleteThank you for the tutorial! I'm curious: Do you need to spray something on the finished image (like fixative) or doesn't it smudge?
ReplyDeleteNo! Once you have rubbed the pencil with the blending stump it is ground into the paper. Like I said, an eraser will take it away, but I have tried to rub it off with my finger and it didn't budge!
DeleteThank you, Tobi! That's very great news! Now I've got to try this! :D
Deletefabulous tutorial, I am definetly going to try this out, thank you!!!
ReplyDeleteFantastic tutorial, thank you so much! Question though...you're not wetting your stump with OMS or gamsol right? Just blending it dry? Thanks for your help.
ReplyDeleteDry blending... The charcoal or chalk pencils are formulated to blend without any chemicals!!
DeleteThank you so very much for the tutorial - it really makes a great difference in shading. I am going to do a search for these pencils and it will be my next purchase to assist with the Copics. Thank you.
ReplyDeleteThanks so much - have my pencil and will give it a try!
ReplyDeleteHi Toby
ReplyDeleteI found your tutorial on Tracy's blog and went straight away to see how you showed us the trick of the trade! Thanks so much for sharing and I will be trying this out real soon! Love your blog! Hugs